I’ve been using Amazon Web Services as the infrastructure for some products for a while now. A big advantage of running in the cloud is being able to automate creating, updating, and destroying servers. So far, we’ve been doing this by writing scripts. Now it’s time to move up to the next level of sophistication and use their CloudFormation service instead. That not only supports automated launching and provisioning an new servers, it supports automatically creating a whole bunch of interconnected services all at once. And it’s declarative, specifying where you want to end up, instead of procedural, specifying how to get there.
CloudFormation looks pretty simple at first, but I’ve found out that it really isn’t. You need to handle a lot of details, and the documentation isn’t always clear (to me), nor even always complete (as far as I can tell). And there aren’t enough complete examples. So, as I learn about it I’m going to blog about what I discover.
I’ll start with the simplest case I need handled: launching and provisioning a single server. I have to write a template specifying what I want CloudFormation to do, and then use CloudFormation to create the stack defined by that template.
CloudFormation templates are documented in the Working With Templates section of the AWS CloudFormation User Guide. Each template is a JSON document representing an object (basically, key/value pairs). The general format of that JSON object is:
{
   "key1": "value1",
   "key2": "value2",
   ...
   "keyN": "valueN"
}
The order of the key/value pairs is irrelevant. Another JSON document with the same pairs in a different order would be considered to represent the same object. Note that the keys are quoted strings, separated from the values with a colon. Key/value pairs are separated (not terminated) with commas. And values can be quoted strings, as shown here, or numbers, or JSON objects themselves. They can also be arrays, which are comma-separated lists of values enclosed in square brackets. Don’t worry too much about the details; we’ll see all of this in the examples.
CloudFormation template are JSON objects with some of the following keys:
- AWSTemplateFormatVersion
- Description
- Parameters
- Mappings
- Resources
- Outputs
All of these keys are optional except for Resources. Resources are the things that CloudFormation is going to create for you, so if there are none, there’s not much point to having a template anyway.
Although the AWSTemplateFormatVersion is optional, and there’s only ever been one version declared so far, I’m always going to include it. The only legal value for it is “2010-09-09”. The Description is also optional, but again, I’ll always include it to help me keep track of what I’m trying to do. So my template is going to start taking shape:
{
    "AWSTemplateFormatVersion": "2010-09-09",
    "Description": "Create a basic Linux machine",
    "Resources": {
        something needs to go here!
    }
}
I need to fill in the Resources section with at least one key/value pair. The key is going to be my logical name for the resource. It can be just about anything (I haven’t pushed the limits though), because CloudFormation doesn’t care. I’ll just call this NewServer. The value is always an object with Type and Properties keys. The possible types are listed in the Template Reference section of the User Guide. To create an EC2 instance, use a Type of AWS::EC2::Instance.
The Properties object contains different possible keys for different resource types. The possible keys for AWS::EC2::Instance are listed in that section of the Template Reference in the User Guide. Only two keys are required: ImageId, which is the ID of the AMI to use for the new instance, and InstanceType, which tells what kind of instance to launch. Actually, in my experience I’ve found I can omit the InstanceType and it defaults to m1.small, but that may be a bug, not a real feature. The documentation says InstanceType is required, so I always include it.
I want to launch a standard 64-bit, EBS-Backed Amazon Linux instance in the US-East-1 region. According to the Amazon Linux AMI web page, the ImageId is ami-1624987f. I’ll save money by using a t1.micro instance. Putting all this together, I get the following template:
{
    "AWSTemplateFormatVersion": "2010-09-09",
    "Description": "Create a basic Linux machine",
    "Resources": {
        "NewServer": {
            "Type": "AWS::EC2::Instance",
            "Properties": {
                "ImageId": "ami-1624987f",
                "InstanceType": "t1.micro"
            }
        }
    }
}
Now to create this stack. Log in to the AWS Management Console and select CloudFormation. (If you’ve never used it before, you’ll be walked through a few sign-up steps to verify your identity. A few minutes later, you’ll be able to use the console.) It currently looks like this:
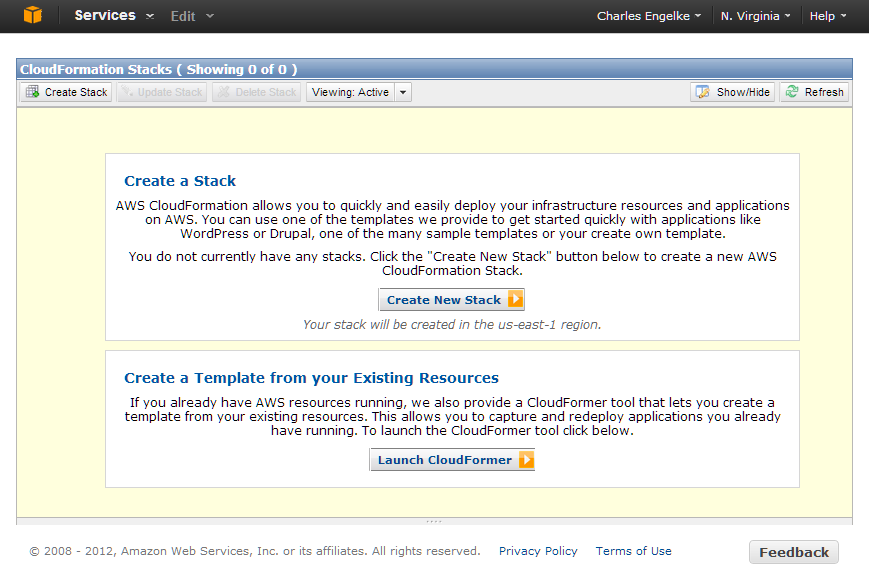
I made sure I was in the right region (N.Virginia showing in the upper right corner), clicked Create New Stack, then filled in the blanks. I put my template in a file called cf.json, and selected it for upload:

Then I clicked Continue. I had the option to enter some tags, which would be applied to the stack and to every resource it created. I just clicked Continue. Finally, I had a confirmation box:

I clicked Continue, and my stack started building. I closed the acknowledgment window and looked at the console. The upper part showed all my stacks. There was only the one I just created. When a stack is selected, the bottom part shows its properties. I selected the Events tab for the screen capture below:
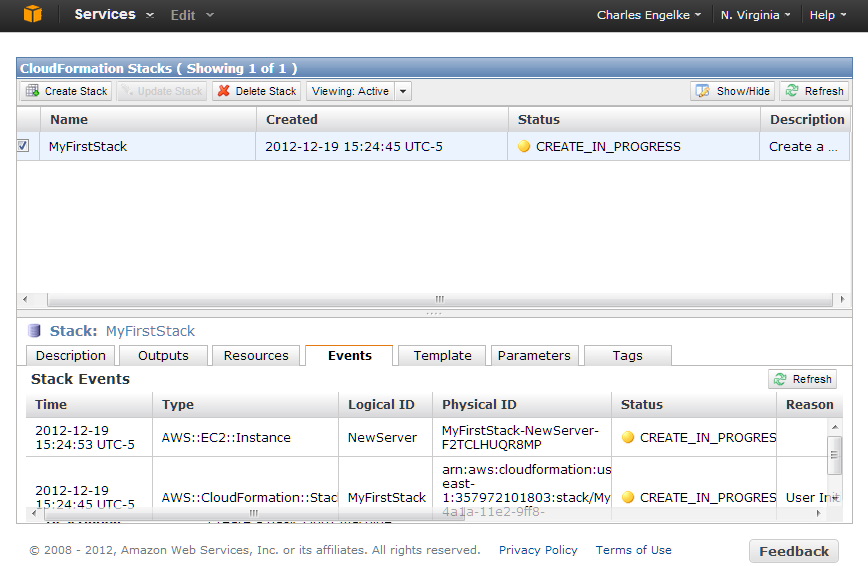
Eventually, CloudFormation finishes, either successfully or with an error. In that latter case, it will usually roll back all the steps it took automatically. Otherwise you can click Delete Stack to get rid of everything it created.
In this case, everything worked. The Resources tab lists everything that was created. That’s just the NewServer resource, which is an AWS::EC2::Instance. It also shows me the ID of that instance. If I want to log in to that server I’ll have to look up its address in the EC2 section of the console. However, I’m not going to have much luck with that because I did not specify a key pair when creating the machine, so it’s impossible for anyone to connect via ssh.
Oops.
KeyName was an optional property I could have specified, but didn’t. The reason it’s optional is that you very well might want to create an instance nobody could log in to. That’s not true in our case, so I fixed it. First, I cleaned up the stack I created that I can’t use. I selected it in the console and clicked Delete Stack. The stack and every resource it created was destroyed. Next, I went back to the template and specified a KeyName value. It had to already exist as a Key Pair in the US-East-1 region. I happened to have one there named cloudformation, so I used it. The updated template:
{
    "AWSTemplateFormatVersion": "2010-09-09",
    "Description": "Create a basic Linux machine",
    "Resources": {
        "NewServer": {
            "Type": "AWS::EC2::Instance",
            "Properties": {
                "ImageId": "ami-1624987f",
                "InstanceType": "t1.micro",
                "KeyName": "cloudformation"
            }
        }
    }
}
Repeating the steps above I got a running Linux machine. This time, that machine was associated with the cloudformation key pair, so I could log in via ssh. Success!
Instead of the console, I could have used the cfn-create-stack command line tool. Or I could have written a program that invoked the REST API for CloudFormation. Each method looks about the same to AWS, and gets the same result.
But what’s the point? I could have created this instance directly with the EC2 console, or command line tools, or REST API. And it would have been at least as easy. Easier, in fact, in my opinion. That’s because I haven’t tapped into the real powers of CloudFormation yet:
- Provision created servers with specified packages, files, software, etc.
- Create (and manage) multiple resources that work together
I’ll get started on those more useful, and more interesting, things in my next post. But before I go, I’d better remember to go back to the CloudFormation console and delete the stack I created, so I don’t keep paying for that server.
